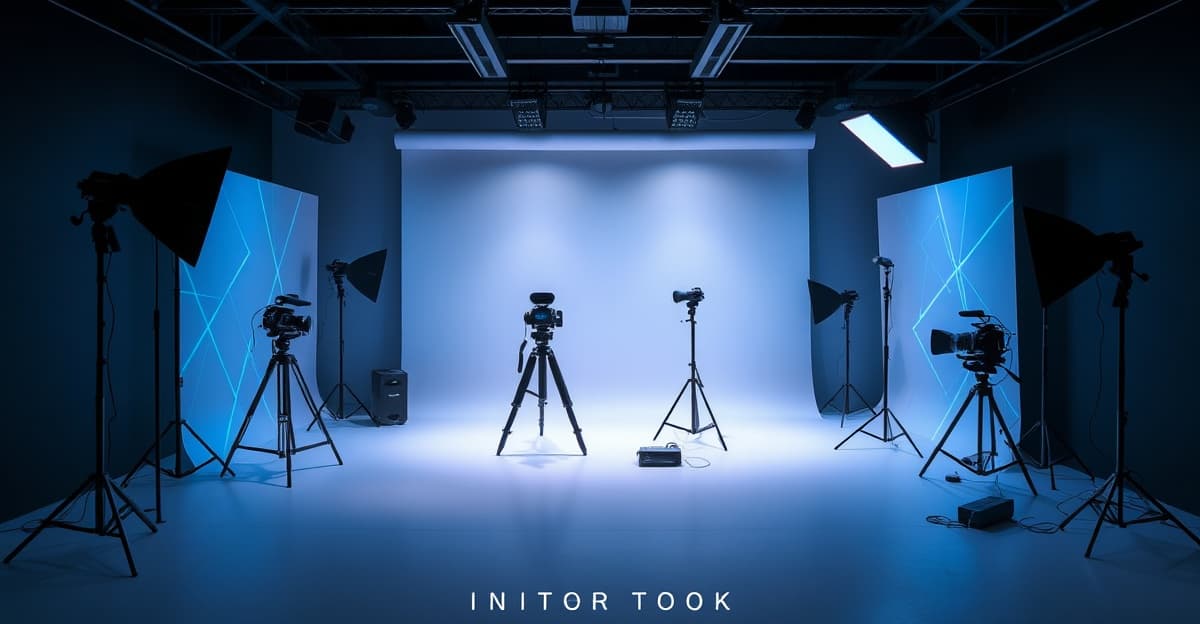
Photo Booth Hardware Setup: Complete Equipment Guide 2026
Photo Booth Hardware Setup: Complete Equipment Guide 2026
Setting up reliable photo booth hardware is the foundation of a profitable photo booth business. With the right equipment configuration, you can process 40-70 groups per hour, minimize technical failures during events, and justify charging $800-$2,500 per booking. This guide covers everything from camera selection to power management, helping you build a hardware stack that runs smoothly across multiple events per weekend.
What You'll Need
- Budget: $3,000-$15,000 for complete hardware setup
- Basic tools: Screwdrivers, cable ties, gaffer tape, multimeter
- Transport vehicle: Ability to carry 50-100 lbs of equipment
- Backup equipment: At least one spare of each critical component
- Testing time: 2-3 hours for initial setup and calibration
Step 1: Essential Photo Booth Hardware Components Every Operator Needs
Your photo booth hardware forms an interconnected system where each component affects overall performance. Start with these core elements before adding specialized equipment.
Camera System: Your primary capture device determines image quality and guest throughput speed. Budget $200-$2,500 depending on your target market and pricing tier.
Lighting Setup: Professional lighting eliminates harsh shadows and guest complaints about unflattering photos. Expect to invest $300-$800 for a complete lighting kit that works across different venues.
Display Monitor: A 21-27 inch touchscreen or standard monitor shows guests their photos and guides them through the experience. Quality displays cost $200-$600 and significantly impact perceived professionalism.
Printer and Paper Management: For events requiring physical prints, invest in a reliable dye-sublimation printer ($400-$800) with organized paper storage and backup supplies.
Structural Framework: Your booth structure, backdrop system, and mounting hardware must withstand 4-6 hours of continuous use by excited guests. Professional setups range from $500-$2,000.
Pro Tip: Create a detailed equipment checklist and photograph your complete setup. This saves 15-20 minutes during event breakdown and ensures you never leave expensive equipment behind.
Step 2: Camera Setup: iPad vs DSLR vs Mirrorless for Different Event Types
Your camera choice directly impacts image quality, setup complexity, and operational costs. Each option serves different market segments and pricing tiers.
iPad Setup ($200-$400): iPad-based systems offer the simplest setup and lowest barrier to entry. The iPad Pro's camera quality satisfies most wedding and corporate clients, while built-in processing eliminates the need for separate computers. However, you're limited to Apple's ecosystem and have less control over advanced settings. Best for operators charging $800-$1,400 per event who prioritize simplicity over maximum image quality.
DSLR Setup ($800-$2,500): Professional DSLR cameras deliver superior image quality and low-light performance, justifying premium pricing. Canon EOS Rebel series or Nikon D3500 provide excellent value for most operators. The main drawbacks include complex setup, larger equipment footprint, and need for separate computer processing. Choose DSLRs when targeting high-end weddings and corporate events where image quality commands $1,500-$2,500 per booking.
Mirrorless Setup ($600-$1,800): Mirrorless cameras like Sony Alpha series offer DSLR-quality images in a more compact form factor. They provide faster autofocus than DSLRs while maintaining professional image quality. The electronic viewfinder helps with precise framing, and many models offer excellent video capabilities for hybrid photo/video booths.
Pro Tip: Test your camera setup in various lighting conditions before your first paid event. Venue lighting ranges from bright outdoor settings to dimly lit reception halls, and your camera settings need to adapt quickly without manual adjustment during the event.
Step 3: Lighting Equipment That Eliminates Guest Complaints
Poor lighting generates more guest complaints than any other technical issue. Professional lighting ensures consistent, flattering photos regardless of venue conditions and time of day.
Key Light Setup: Your primary light source should be a large, soft light positioned at a 45-degree angle to your subjects. LED panel lights (like Neewer 660 LED) provide consistent color temperature and dimming control. Position the key light 6-8 feet from subjects and 2-3 feet above eye level to minimize harsh shadows under eyes and noses.
Fill Light Configuration: A secondary light at 25% intensity fills in shadows created by your key light. This creates even illumination across faces and eliminates the dramatic shadows that make guests look unflattering. Many operators use a simple LED strip light or smaller panel positioned opposite their key light.
Background Lighting: Separate your subjects from the backdrop with dedicated background lighting. This prevents guests from appearing flat against the backdrop and adds visual depth to photos. Small LED spotlights or strip lights work well for this purpose.
Power and Control Systems: Invest in lights with consistent power output and remote control capability. Flickering lights create inconsistent exposures, while manual brightness adjustment during events disrupts guest flow. Quality LED systems maintain color temperature across different brightness levels.
Pro Tip: Bring light diffusers and reflectors to modify harsh venue lighting. A simple white bedsheet can soften overhead fluorescents, while foam core boards redirect existing light to fill shadows. These $20 solutions often solve lighting problems that expensive equipment cannot.
Step 4: Printer Selection and Paper Management for High-Volume Events
Printer reliability directly impacts guest satisfaction and your operational costs. Choose equipment that handles 100-300 prints per event without jamming or quality degradation.
Dye-Sublimation vs Inkjet: Dye-sublimation printers like Canon Selphy CP1300 or DNP DS620A produce waterproof, fade-resistant prints in 30-60 seconds. While paper costs run $0.50-$0.75 per 4x6 print, the quality and durability justify premium pricing. Inkjet printers offer lower per-print costs but require more maintenance and produce less durable prints.
Print Speed and Queue Management: Calculate your printer's actual throughput including warm-up time, paper loading, and error recovery. A printer rated at 30 seconds per print might actually average 45-60 seconds in real-world conditions. This affects your maximum guest throughput and pricing calculations.
Paper Storage and Organization: Pre-load multiple paper cartridges and organize them in easily accessible containers. Label cartridges with event names and dates to prevent mix-ups when running multiple events per weekend. Keep paper in climate-controlled storage to prevent curling and feeding issues.
Backup and Redundancy: Always bring a second printer to events. Printer failures happen at the worst possible times, and having backup equipment prevents complete service interruption. Test both printers before each event and carry spare paper cartridges and ribbons.
Pro Tip: Negotiate bulk paper pricing with suppliers once you're booking 8-15 events per month. Many suppliers offer 20-30% discounts on paper and ribbon purchases over $500, significantly improving your per-event profit margins.
Step 5: Backdrop and Props Hardware for Quick Setup and Teardown
Efficient backdrop systems reduce setup time and create professional-looking photos that justify premium pricing. Your backdrop hardware must balance visual impact with practical setup constraints.
Backdrop Stand Systems: Professional backdrop stands like Savage Port-a-Stand or Manfrotto Autopoles provide stable support for fabric, vinyl, or paper backgrounds. Avoid lightweight consumer stands that wobble or collapse under normal use. Quality stands cost $200-$400 but prevent embarrassing equipment failures during events.
Backdrop Material Selection: Seamless paper provides clean, consistent backgrounds but tears easily and requires replacement. Fabric backdrops offer durability and wrinkle resistance but may require steaming before events. Vinyl backdrops clean easily and withstand heavy use but can appear cheap if not properly lit.
Props Organization and Transport: Create a organized props system using clear storage containers labeled by event type. Wedding props, corporate props, and party props should be separate and easily accessible. Avoid props that break easily or create safety hazards for excited guests.
Modular Setup Design: Design your backdrop system for quick reconfiguration. Venues have different space constraints, ceiling heights, and layout requirements. Your hardware should adapt to 8-foot ceilings and 12-foot ceilings with minimal additional equipment.
Pro Tip: Photograph your backdrop setup from the guest perspective before each event starts. This helps you spot wrinkles, uneven lighting, or props that appear awkward in photos. Making adjustments before guests arrive prevents disappointing photos and complaints.
Step 6: Power Management and Cable Organization for Multi-Hour Events
Reliable power distribution prevents equipment shutdowns that can ruin events and damage your reputation. Plan for 4-6 hours of continuous operation plus setup and breakdown time.
Power Consumption Calculation: Calculate total power draw for all equipment including cameras, computers, printers, lighting, and displays. Most photo booth setups require 800-1,500 watts of continuous power. Add 25% safety margin to prevent circuit overload and equipment damage.
Surge Protection and Power Conditioning: Venue power quality varies dramatically, and voltage spikes can destroy expensive equipment. Invest in commercial-grade surge protectors and power conditioners that handle your total power load. Cheap power strips provide minimal protection and often fail under heavy loads.
Extension Cord Management: Use 12-gauge extension cords for high-power equipment like printers and lighting. Organize cables with gaffer tape and cable protectors to prevent tripping hazards and accidental disconnection. Label power cords by equipment to speed up troubleshooting during events.
Backup Power Solutions: Consider portable power stations for outdoor events or venues with limited electrical access. Modern lithium power stations can run iPad-based systems for 6-8 hours, providing complete independence from venue power limitations.
Pro Tip: Map venue power outlets during your site visit and plan cable routing in advance. Bring a circuit tester to identify shared circuits that might overload when other vendors plug in equipment. This prevents mid-event power failures that are difficult to troubleshoot under pressure.
Step 7: Hardware Troubleshooting Guide for Common Event Day Issues
Equipment failures during events require quick diagnosis and resolution to maintain guest satisfaction and protect your reputation. Prepare for these common hardware problems with systematic troubleshooting approaches.
Camera Connection Issues: When cameras stop responding, check USB cable connections first, then restart camera software, and finally power cycle the camera itself. Keep spare USB cables and camera batteries readily accessible. Document camera settings that work reliably to speed up reconfiguration after failures.
Printer Paper Jams and Quality Issues: Paper jams usually result from humidity, incorrect paper loading, or worn feed rollers. Clear jams gently to avoid damaging internal mechanisms. Quality issues like streaking or color shifts often indicate low ribbon supply or contaminated print heads. Clean print heads with manufacturer-approved cleaning kits between events.
Lighting Flicker and Color Shifts: LED lights may flicker due to voltage fluctuations or overheating. Check power connections and ensure adequate ventilation around light fixtures. Color temperature shifts during events indicate failing LED drivers or incompatible dimming systems.
Computer and Software Crashes: Software crashes during events create significant delays and guest frustration. Force-quit unresponsive applications and restart photo booth software rather than rebooting the entire computer. Keep software installation files and license keys easily accessible for quick reinstallation.
Display and Touch Screen Problems: Monitor display issues range from loose connections to complete hardware failure. Check video cables and power connections before assuming hardware failure. Touch screen calibration problems often resolve with driver reinstallation or system restart.
Pro Tip: Create a laminated troubleshooting checklist with step-by-step solutions for common problems. This helps you stay calm under pressure and ensures consistent problem-solving approaches. Include supplier contact information for emergency equipment replacement during critical events.
Common Mistakes to Avoid
- Skipping equipment testing: Always test your complete setup before leaving for events. Equipment that worked perfectly last weekend may develop issues during transport or storage.
- Inadequate backup equipment: Bringing only one of each critical component creates single points of failure that can ruin events and damage client relationships.
- Ignoring venue power limitations: Many venues have limited electrical capacity, especially older buildings and outdoor locations. Plan power requirements in advance.
- Poor cable management: Tangled cables create tripping hazards, look unprofessional, and slow down setup and breakdown processes.
- Overlooking environmental factors: Temperature extremes, humidity, and dust affect equipment performance. Plan for venue conditions that differ from your storage environment.
Building reliable photo booth hardware takes time and investment, but quality equipment pays for itself through reduced service calls, higher guest satisfaction, and premium pricing opportunities. Modern AI-powered platforms like [INTERNAL:alive-photo-booth-software] integrate seamlessly with professional hardware setups, providing the software intelligence that maximizes your hardware investment. Focus on reliability over complexity, and your equipment will support profitable operations across hundreds of events.
Frequently Asked Questions
Try Alive for your next event
Create unforgettable photo experiences with AI-powered photo booth software.
Get Started