9 Photo Booth Setup Mistakes That Kill Your Event Flow
9 Photo Booth Setup Mistakes That Kill Your Event Flow
A flawless photo booth setup is the difference between smooth 40-group-per-hour throughput and angry guests waiting 5+ minutes per turn. Most operators focus on fancy AI effects and forget that poor setup kills the entire experience before the first photo is taken.
These nine critical mistakes turn profitable events into operational nightmares. Each one can single-handedly destroy your guest flow, tank your social share rates, and guarantee you won't get rebooked. Here's how to avoid them.
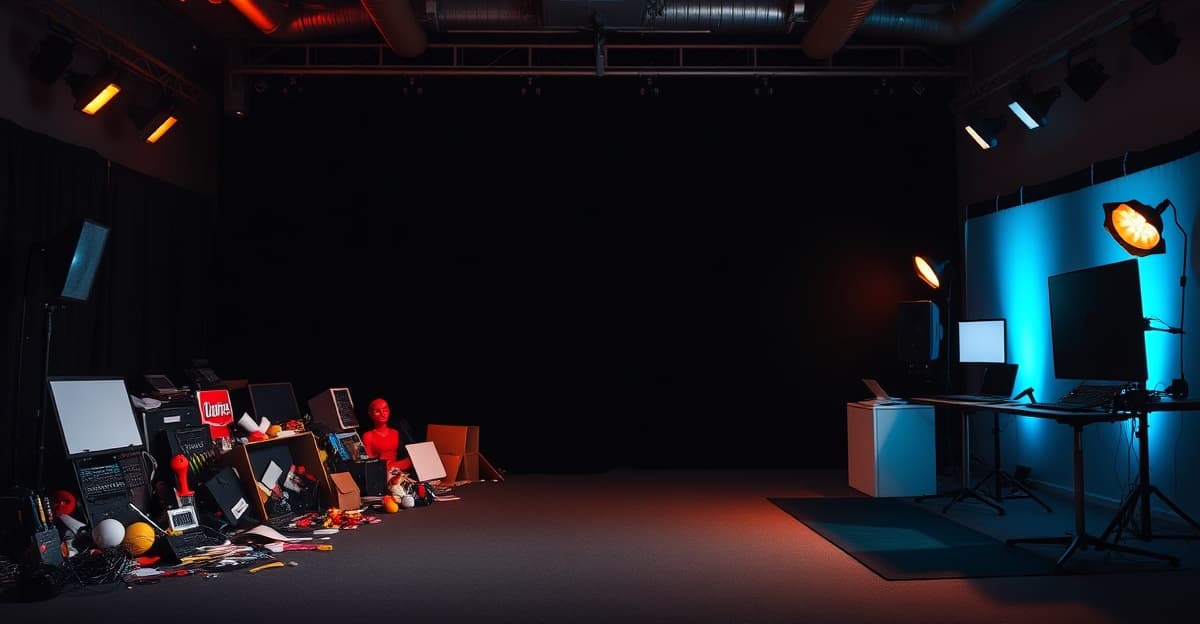
1. Wrong Lighting Angle Creates Harsh Shadows
Most operators position their lighting directly above or to the side of subjects, creating unflattering shadows under eyes, noses, and chins. This makes every photo look amateur, regardless of your camera quality or AI effects.
The fix: Position your main light at 45 degrees above eye level, slightly forward of your subjects. Use a second fill light at camera level to eliminate harsh shadows. For AI photo booth setups, consistent lighting is crucial because shadows confuse background removal algorithms and make AI effects look choppy.
Pro Tip: Test your lighting with a quick selfie before guests arrive. If you see dark circles under your eyes, your angle is wrong.
Ring lights work well for traditional booths, but LED panel systems give you more control for AI effects. Budget $200-400 for proper lighting that actually flatters your subjects instead of making them look like they're in an interrogation room.
2. Backdrop Too Close to Subjects (Wrinkle City)
Positioning your backdrop 2-3 feet behind subjects seems logical for space efficiency, but it creates two major problems: wrinkles become prominent in every shot, and subjects cast shadows on the backdrop that ruin the clean look clients expect.
Keep your backdrop 6-8 feet behind subjects whenever possible. This distance eliminates shadow casting and makes backdrop wrinkles disappear into soft focus. For AI photo booth setups, this separation is even more critical because clean background removal requires clear subject-to-background contrast.
Pro Tip: Use a steamer on your backdrop 30 minutes before guests arrive, not right before the event starts.
If venue space forces you closer than 6 feet, invest in a motorized backdrop system that keeps fabric taut. Wrinkled backdrops scream "amateur operation" and give clients ammunition to negotiate your rates down on future bookings.
3. Software Not Pre-Configured Before Guests Arrive
Showing up and configuring your photo booth software while guests watch kills momentum before you even start. Every minute spent adjusting settings, testing effects, or troubleshooting connectivity is a minute your client questions whether they hired the right operator.
Configure everything the night before: AI effects loaded, templates selected, social sharing enabled, printer settings optimized. Create a pre-event checklist and run through it systematically. Test every feature you plan to use, including backup options.
Pro Tip: Save venue-specific configurations in your software. Hotels often have unique WiFi requirements, and outdoor venues need different brightness settings.
Modern platforms like Alive let you pre-configure entire event setups remotely, including custom AI effects and branded templates. This preparation time investment pays off with smoother operations and higher guest throughput during the actual event.
4. Camera Height Set for Average Adults Only
Mounting your camera at 5'6" height works perfectly for adults but creates terrible angles for children, shorter guests, and seated wheelchair users. This accessibility oversight limits your market and creates awkward photos that guests won't share.
Install an adjustable camera mount that lets you quickly modify height during the event. Train your staff to watch for height mismatches and adjust accordingly. For high-volume events, consider a dual-camera setup with fixed positions at different heights.
Pro Tip: Test your camera angles with subjects of varying heights during setup. A 4'8" guest and a 6'2" guest should both look natural in your frame.
The investment in proper mounting hardware ($100-200) prevents hundreds of unusable photos and ensures every guest gets shareable results. Remember: guests who love their photos become your best marketing ambassadors.
5. No Guest Flow Management (Traffic Jams Guaranteed)
Operators often focus on the photo booth itself and ignore traffic patterns around it. Poor flow management creates bottlenecks, long wait times, and frustrated guests who give up before participating.
Design clear entry and exit paths with visual cues. Use stanchions, floor decals, or signage to guide guests through the process. Position your booth so guests naturally flow in one direction without crossing paths with those exiting.
Pro Tip: Watch your guest flow during the first 30 minutes and adjust positioning if you see congestion forming.
For high-volume events, implement a queue management system. Some operators use numbered tickets or digital queues through their software. The goal is 40-70 groups per hour throughput – anything less suggests flow problems that hurt your profitability per event.
6. Forgetting to Test Print Quality On-Site
Assuming your printer will work perfectly because it worked fine at your last event is a recipe for disaster. Different venues have different power quality, humidity levels, and dust conditions that affect print output.
Test print quality with actual event lighting and camera settings, not just a test pattern. Check for color accuracy, proper saturation, and paper feeding issues. Print 5-10 test photos and examine them under venue lighting conditions.
Pro Tip: Bring backup ink cartridges and an extra pack of photo paper to every event, even if your supplies look adequate.
Poor print quality ruins the tangible takeaway that justifies your pricing. Guests will remember blurry, faded, or streaky prints long after they forget your AI effects. This is especially critical for wedding events where photo quality expectations are highest.
7. Power Cable Management That Trips Guests
Exposed power cables create liability issues and interrupt guest flow. Even worse, a tripped guest can damage your equipment and create an insurance claim that costs more than several events' worth of profit.
Use cable protectors, tape down all cords, and route power cables away from high-traffic areas. For outdoor events, waterproof your connections and use ground fault circuit interrupters (GFCI) for safety.
Pro Tip: Bring 50 feet of extension cord to every event, even indoor venues. You never know when the nearest outlet will be inconveniently located.
Professional cable management looks clean and protects your equipment investment. It also demonstrates attention to detail that impresses event planners and leads to referrals for higher-end corporate events.
8. No Backup Hardware Ready When Things Fail
Hardware failures happen at the worst possible moments: peak party time when 50+ guests are waiting in line. Operators without backup plans lose the entire event and often face contract disputes over refunds.
Pack backup equipment for every critical component: camera, tablet, printer, and lighting. Your backup doesn't need to be identical to your primary setup, just functional enough to keep the event running.
Pro Tip: Create a "emergency kit" with basic tools, extra cables, and backup power options. A portable battery pack can save you when venue power fails.
The cost of backup hardware (typically $1,000-2,000) pays for itself by preventing even one event cancellation. More importantly, having backups ready demonstrates professionalism that justifies premium pricing.
Setup Mistake Impact Comparison
| Mistake | Guest Impact | Business Impact | Fix Cost | Fix Time | |---------|-------------|----------------|----------|-----------| | Wrong lighting | Poor photo quality | Low social shares | $200-400 | 30 min setup | | Close backdrop | Wrinkled backgrounds | Unprofessional look | $300-600 | 15 min spacing | | No pre-config | Delayed start | Lost throughput | $0 | 2 hours prep | | Fixed camera height | Accessibility issues | Limited market | $100-200 | 5 min adjustments | | Poor flow management | Long wait times | Guest complaints | $50-150 | 20 min planning | | No print testing | Quality problems | Refund requests | $20-50 | 10 min testing | | Cable hazards | Safety liability | Insurance claims | $30-100 | 15 min management | | No backups | Event failure | Contract disputes | $1,000-2,000 | Always ready |
Turning Setup Excellence Into Higher Rates
Perfect photo booth setup isn't just about avoiding problems – it's about demonstrating the professionalism that justifies charging $1,400+ per event instead of competing on price with DIY operators.
When your setup runs flawlessly, guests notice. Event planners notice. And most importantly, clients realize they hired a professional operation worth premium pricing. These operational details separate successful photo booth businesses from weekend hobbyists who undercut the market.
Smart operators using platforms like [INTERNAL:ai-photo-booth-software] can pre-configure most technical settings remotely, letting them focus on the physical setup details that create smooth guest experiences. The combination of technical preparation and professional execution is what builds the reputation that fills your calendar at higher rates.
Frequently Asked Questions
Try Alive for your next event
Create unforgettable photo experiences with AI-powered photo booth software.
Get Started