Prom Photo Booth Setup: $2,500/Night Profit Guide
How to Set Up Prom Photo Booth Operations for Maximum Profit
Prom photo booth setup requires strategic planning to handle high-volume traffic while maximizing revenue per event. Unlike wedding receptions where guests trickle through gradually, prom events create intense 2-3 hour rushes with 200-400 students demanding quick turnaround times and shareable content.
Successful prom operations can generate $1,200-$2,500 per night with proper setup and flow management. The key lies in optimizing your physical layout, staffing model, and technical configuration to process 60-80 groups per hour during peak periods. This guide walks you through the essential setup steps that separate profitable prom operators from those struggling with long lines and frustrated clients.
What You'll Need
- Professional lighting kit (minimum 2-point setup with diffusers)
- Backdrop system with quick-change capability
- Tablet or camera with fast processing power
- AI photo booth software with instant preview
- Portable printer (optional but recommended for immediate gratification)
- Traffic management supplies (stanchions, directional signage)
- 2-3 trained staff members
- Extension cords, power strips, and backup equipment
- Props basket with prom-appropriate accessories
Step 1: Pre-Event Setup - Space Requirements and Equipment Configuration
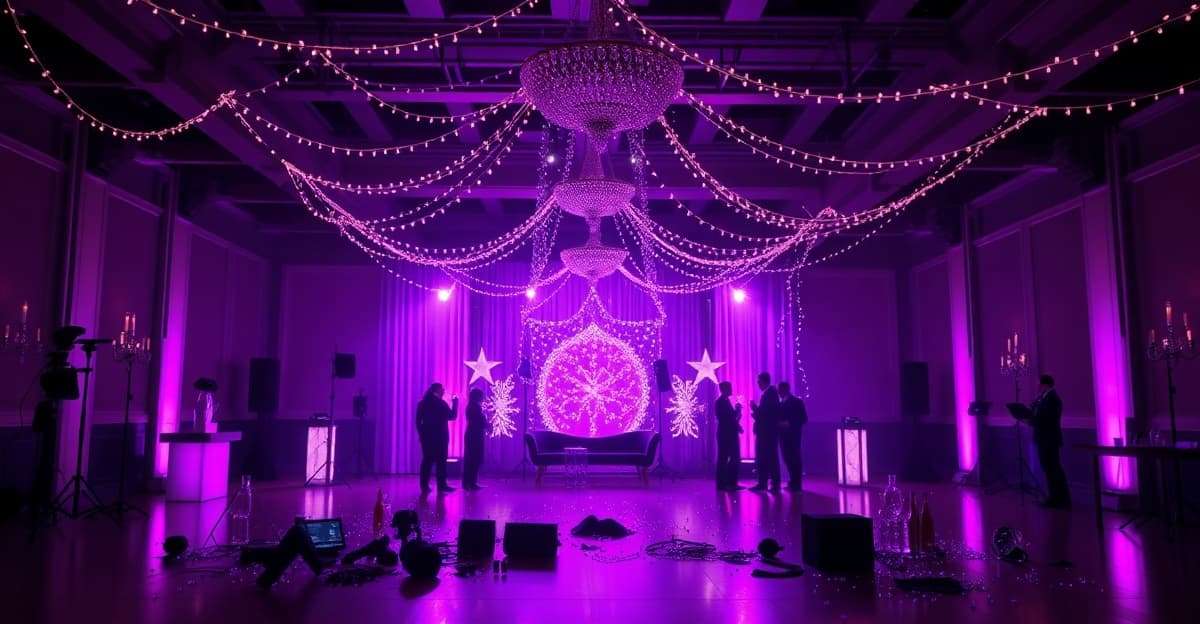
Scout your venue 2-3 days before prom night to identify the optimal booth location. Look for a 12x12 foot minimum space with access to power outlets within 25 feet. Position your setup away from the main dance floor but visible from the entrance to create natural traffic flow.
Configure your equipment in an L-shaped layout with the backdrop against a wall and your capture station positioned at a 45-degree angle. This allows groups to approach from one side while the previous group exits from the other, preventing bottlenecks. Place your props table at the entrance to your booth area so students can grab accessories while the previous group finishes.
Test all equipment connections and run through your complete workflow at least three times. Prom nights offer zero tolerance for technical difficulties – one 5-minute equipment failure can create a 30-group backup that takes an hour to clear.
Pro Tip: Bring a backup tablet or camera already configured with your software. Equipment failures happen, and having a hot-swap replacement ready can save your entire evening's revenue.
Step 2: Managing High-Volume Traffic Flow During Prom Night
Implement a queue management system using portable stanchions to create a clear line formation. Position signage every 10 feet explaining the process: "Grab props → Quick photo → View & share instantly → Next group up!" This reduces confusion and keeps traffic moving.
Deploy your staff strategically with one person managing the queue and props, one operating the camera/tablet, and one handling any printing or technical issues. During peak hours (typically 8:30-10:30 PM), rotate staff every 45 minutes to maintain energy levels and prevent fatigue-related slowdowns.
Monitor your throughput constantly and adjust accordingly. If lines exceed 15 groups, switch to express mode: reduce pose options to 2-3 quick shots, limit prop selection time to 30 seconds, and temporarily disable complex AI effects that take longer to render. Your goal is maintaining 45-60 second total interaction time per group during rush periods.
Pro Tip: Create a "VIP Express Lane" for prom court members and their dates. Schools often pay premium rates for this service, and it prevents important photos from being rushed during peak traffic.
Step 3: Staff Training and Role Assignment for Prom Events
Train your team on the "30-second rule" – every interaction from group approach to photo capture should complete within 30 seconds during peak periods. Practice rapid pose direction using simple commands: "Tall people in back, short in front, big smiles, ready in 3-2-1!"
Assign specific roles to prevent confusion. Your lead operator handles all camera work and pose direction. Your queue manager controls traffic flow, assists with props, and handles any customer service issues. Your technical support person monitors equipment, manages printing, and troubleshoots any software problems.
Rehearse common scenarios including equipment malfunctions, difficult groups, and peak traffic management. Role-play handling students who want multiple retakes or complex pose requests during busy periods. Train your team to politely redirect excessive requests: "We'd love to do more shots, but we want to make sure everyone gets their turn tonight. Let's get one great photo now!"
Pro Tip: Empower your queue manager to offer "comeback passes" for groups wanting additional photos. They can return during slower periods (usually after 10:30 PM) for extended sessions without disrupting peak traffic flow.
Step 4: Technical Setup - Lighting, Backdrops, and Hardware Positioning
Install your lighting setup with two key lights positioned at 45-degree angles to your backdrop, elevated 7-8 feet high. Use softbox diffusers to eliminate harsh shadows that look unflattering in formal wear. Add a third fill light behind your capture position to reduce shadows on faces and create even illumination across groups of 6-8 students.
Position your backdrop 4-5 feet from the wall to allow proper lighting separation and prevent shadows. Choose darker backdrop colors (navy, burgundy, black) that complement formal wear and hide wrinkles from frequent use. Install your backdrop system with quick-release clips for rapid changes if you offer multiple background options.
Configure your capture device at chest height on a sturdy tripod, positioned 8-10 feet from your backdrop. This distance accommodates large groups while maintaining sharp focus. Use a wide-angle lens setting to capture full-body shots without requiring groups to squeeze uncomfortably close together.
Pro Tip: Pre-configure your AI effects and templates before the event starts. Create 3-4 prom-specific templates with school colors and graduation year elements. Having these ready eliminates decision paralysis and keeps processing times under 15 seconds per photo.
Common Mistakes to Avoid
- Insufficient power planning: Prom venues often have limited outlets. Bring 50+ feet of extension cords and multiple power strips
- Single-person operations: Attempting to run a prom booth solo creates bottlenecks. Budget for minimum 2-person teams
- Complex pose choreography: Save elaborate poses for slower events. Prom requires simple, fast directions
- Overlooking backup equipment: Equipment failure during prom night can cost you $1,000+ in lost revenue and reputation damage
- Poor queue visibility: Students need to see the line length to decide whether to wait. Hidden queues create complaints and walkaway
- Ignoring venue restrictions: Some schools prohibit certain props or poses. Confirm guidelines before setup to avoid mid-event conflicts
Setting up profitable prom photo booth operations requires balancing efficiency with quality experience. The operators who master high-volume traffic flow while maintaining photo quality consistently book 15-20 proms per season at premium rates. Focus on streamlined processes, reliable equipment, and trained staff to maximize both customer satisfaction and per-event revenue. [INTERNAL:ai-photo-booth-software] can significantly improve your processing speed and effect quality, helping you stand out in this competitive but lucrative market segment.
Frequently Asked Questions
Try Alive for your next event
Create unforgettable photo experiences with AI-powered photo booth software.
Get Started